For Testers
WristMSG is two apps: one on your phone, which does all the work, and one on your watch, which acts as the remote. Set the phone up first and confirm it works — the watch gets its contacts from the phone, so it has nothing to show until the phone side is running.
Step 1 — Accept the invites
Section titled “Step 1 — Accept the invites”Before downloading the apps, you must opt-in using the tester links below:
-
Android Mobile app tester link: https://play.google.com/apps/testing/tech.benri.wristmsg
-
WearOS app tester link: https://play.google.com/store/apps/details?id=tech.benri.wristmsg
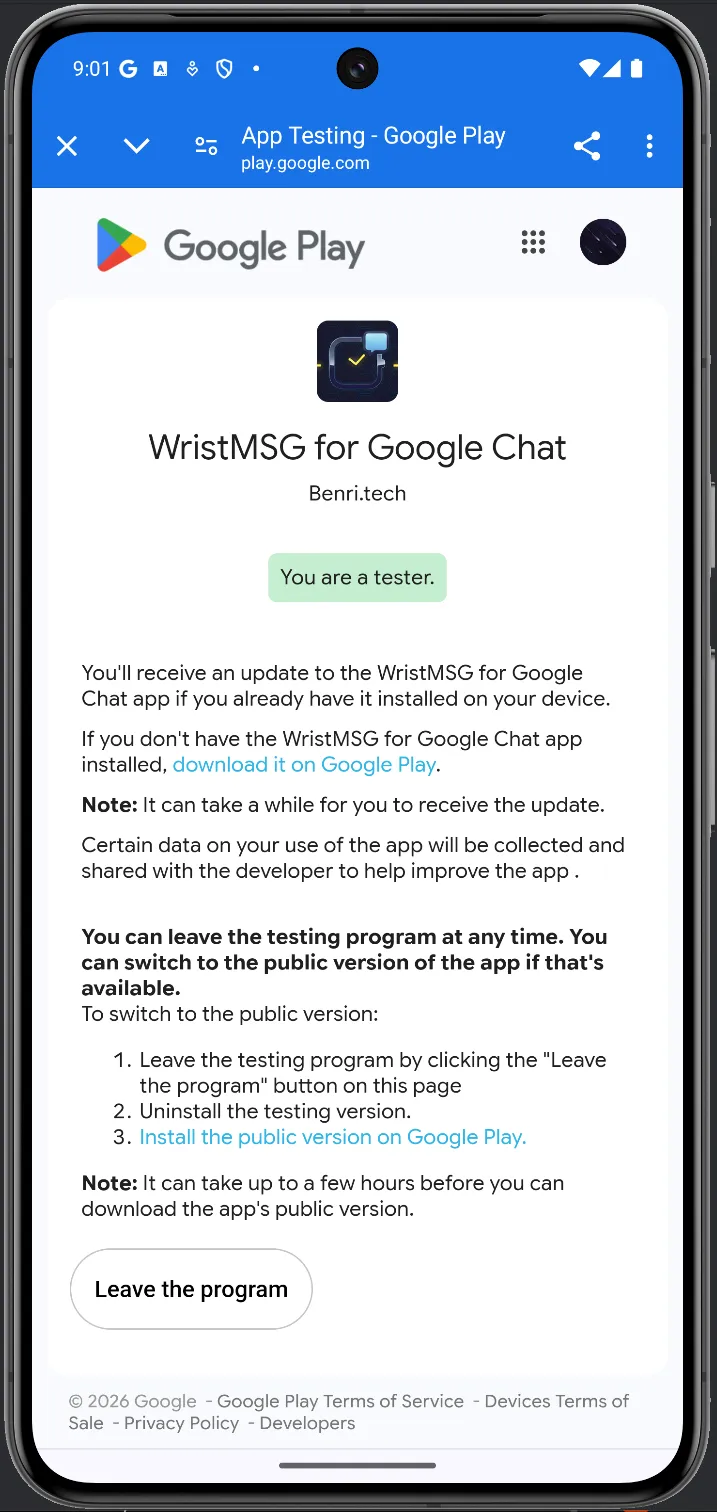
Once you open the mobile link, you should land on a Google Play page showing a green “You are a tester” badge under the WristMSG icon. If the app isn’t installed yet, tap Download it on Google Play from this page.
Step 2 — Install on your phone
Section titled “Step 2 — Install on your phone”- From the testing page above, tap Download it on Google Play.
- Install WristMSG as you would any other app.
- Open it once to confirm it launches.
Step 3 — Set up the phone app
Section titled “Step 3 — Set up the phone app”After installing, you must complete the standard post-installation routine for the app to function properly. You can find full details in the Setup guide, but here are the key steps:
- Grant notification access — This is the core permission. The app reads incoming Google Chat notifications to bridge them to your watch. It does nothing at all without this permission.
- Keep-Alive & battery settings — Set WristMSG (and Google Chat) to Unrestricted battery usage so Android doesn’t shut them down in the background.
Step 4 — Make your contacts appear
Section titled “Step 4 — Make your contacts appear”Ask someone to send you a Google Chat message.
- Contacts only show up after a message arrives — an empty list on a fresh install is expected, not a bug.
- Once a message lands, the contact appears automatically and shows as Ready.
- Note on the free tier: By default, the app has a 2-contact free limit. As a tester, you will only see up to 2 contacts synced to your watch unless you purchase a Pro license. This is normal behavior, not a sync bug.
- To choose which contacts reach your watch and in what order, see Your contact list.
Step 5 — Install on your watch
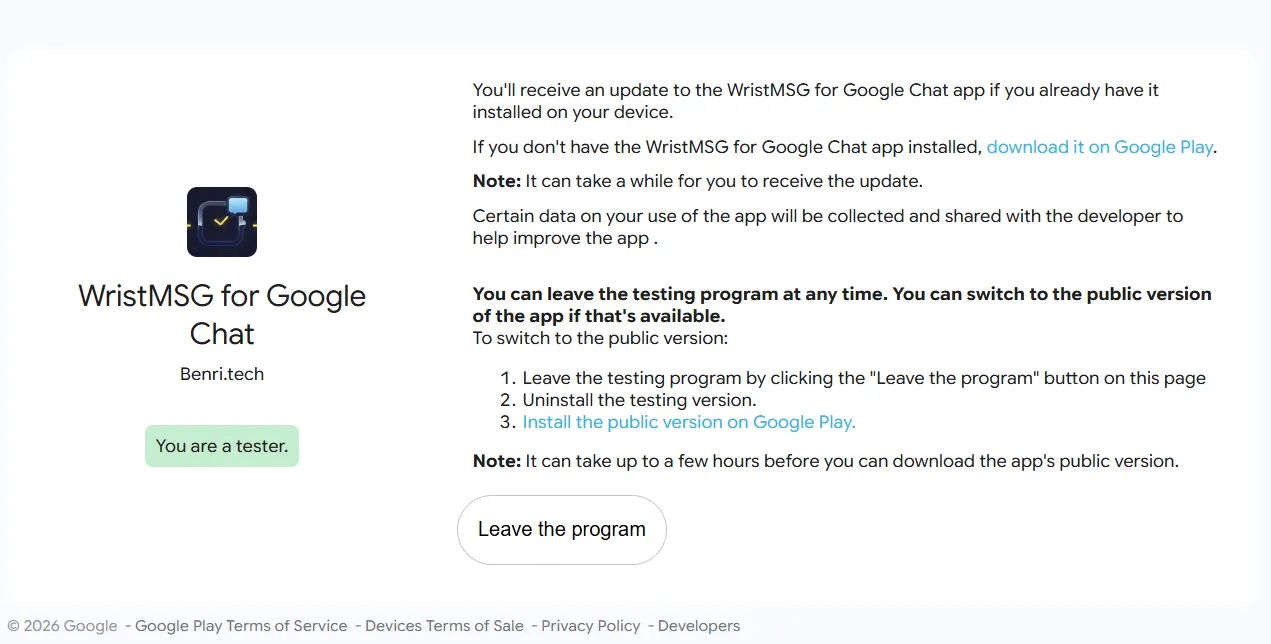
Section titled “Step 5 — Install on your watch”1. Open the test invite link in a browser on your PC. You’ll land on the testing confirmation page — the same one that shows “You are a tester.” Look for the “download it on Google Play” link near the top and click it.
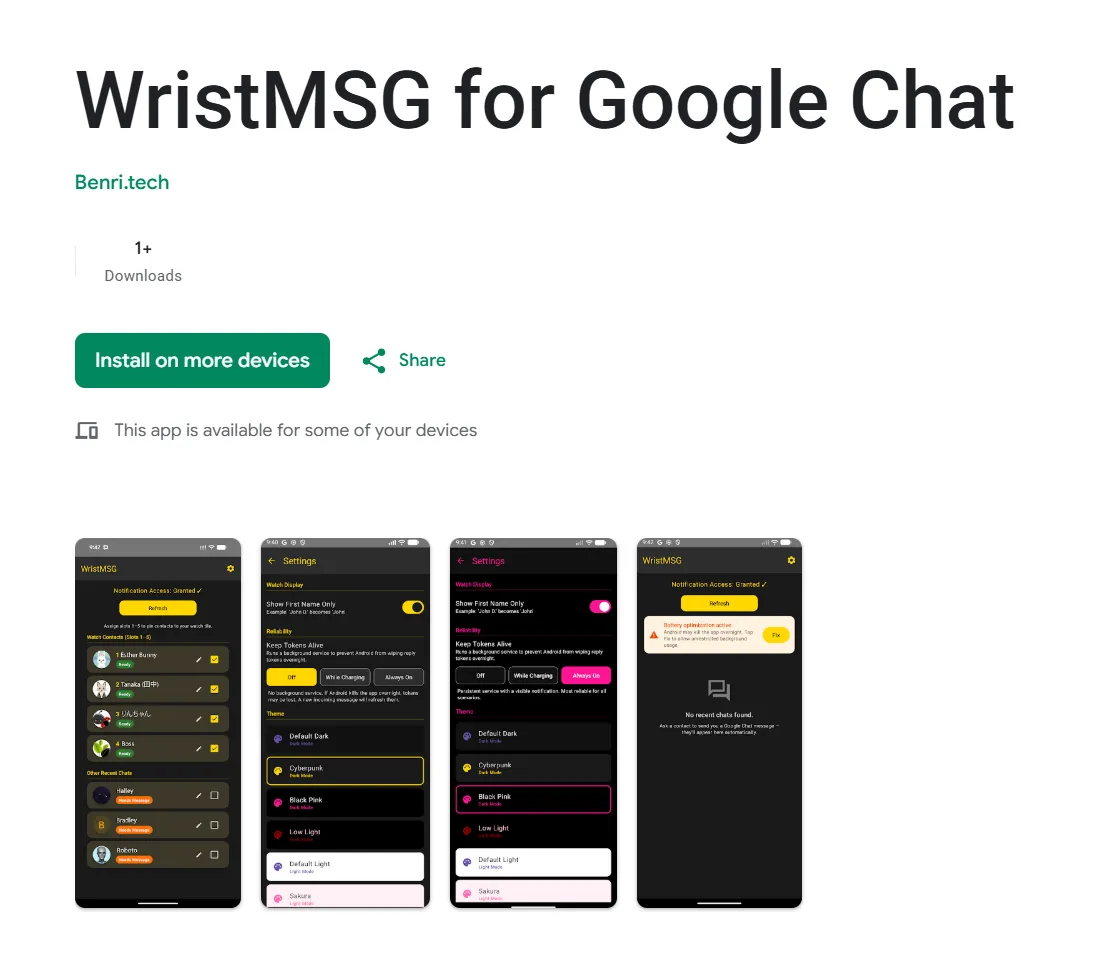
2. You’ll land on the WristMSG Play Store listing. Click Install on more devices.
3. A device picker appears. Select your WearOS watch from the list and click Install.
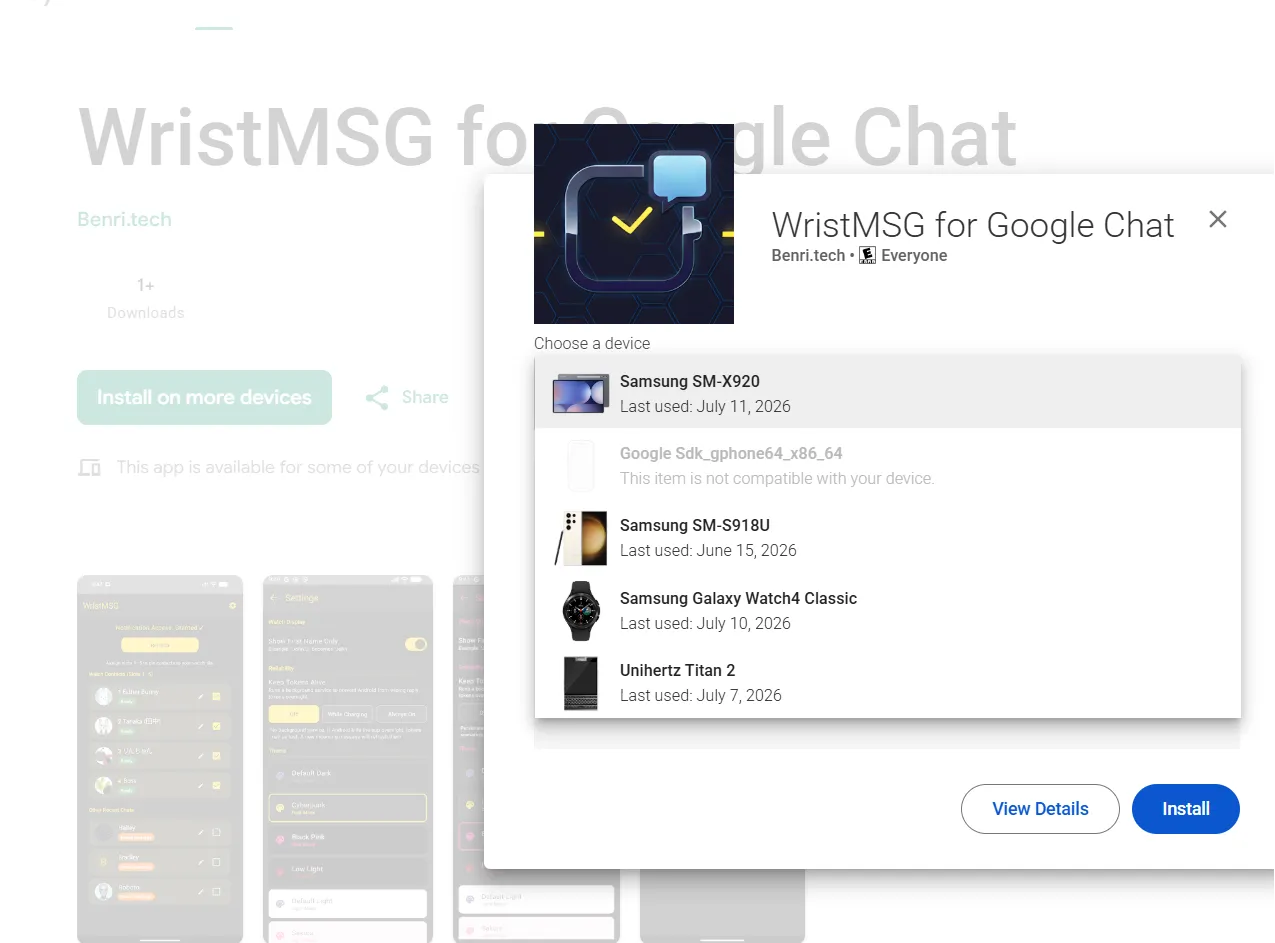
Keep the watch on its charger and connected to your phone via Bluetooth. The install can take a few minutes to land.
Step 6 — Add the watch tile and send a test message
Section titled “Step 6 — Add the watch tile and send a test message”- Open WristMSG on your watch — contacts sync over from the phone automatically.
- From the watch face, add the WristMSG tile so your top contacts appear as chips for one-tap access:
- On a Pixel Watch: Swipe left or right from the watch face to find an empty slot or long-press an existing tile, then tap the + (Add) button. Find WristMSG in the list.
- On a Samsung Galaxy Watch: Swipe left to the very end of your tiles and tap Add tiles. Find WristMSG in the list.
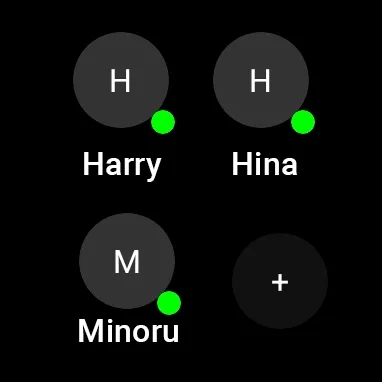
- Tap a contact from the tile or the app list and send a short message.
- Confirm it actually arrives in the real Google Chat conversation.
If something goes wrong
Section titled “If something goes wrong”- Check Known Issues first — it may already be listed.
- Export a diagnostics log from the app (see Diagnostics) and send it over. The log contains timestamps, event counts, and your device model only — no message text and no contact names.
- Tell us what you were doing, which phone and watch you’re on, and roughly when it happened.
- Include the build numbers: Go to Settings and scroll to the bottom. It reads e.g.,
WristMSG v1.0.7 (27). Include this and the watch’s equivalent version code in any report so we know exactly which build you are using on each side.